Fenced gray playing areas connected by paved walkways. Follow this project from reinforcement and concrete placement through coating, court lines and the completed complex.
12 photos · 4 clips
Enlarge photo 1↗Aerial view of fenced gray outdoor courts with white game lines, paved walkways and adjacent parking.Enlarge photo 2↗Fenced outdoor court complex at sunset, with multiple playing areas and paved walkways across an open site.Enlarge photo 3↗Aerial view of fenced gray outdoor courts with white game lines, paved walkways and adjacent parking.Enlarge photo 4↗Aerial view of fenced gray outdoor courts with white game lines, paved walkways and adjacent parking.Play 8s video▶A close aerial view of four gray pickleball courts with black fencing.Play 6s video▶An angled aerial view of the completed fenced pickleball court complex.Enlarge photo 7↗Crew pouring and leveling concrete for a court slab, with a pump hose and reinforcement grid visible.Enlarge photo 8↗Aerial view of a prepared court slab area at a construction site.Enlarge photo 9↗Crew placing concrete over a reinforcement grid for a new court slab.Enlarge photo 10↗Newly poured court slab with perimeter fence posts installed.Enlarge photo 11↗Concrete court slabs and fence posts before final surface coating.Enlarge photo 12↗Court surface preparation inside perimeter fencing.Enlarge photo 13↗Dark base coating applied to connected outdoor court slabs.Enlarge photo 14↗Light gray court color coating over a dark base layer.Play 6s video▶An aerial look at court construction and the surrounding site.Play 8s video▶An aerial view of two fenced court areas with contrasting gray surfaces.
YOUR NEXT GREAT GAME STARTS HERE
Let’s put your plans on the court.
Tell us where you’re building and what you want to play. We’ll help you work out the next step.

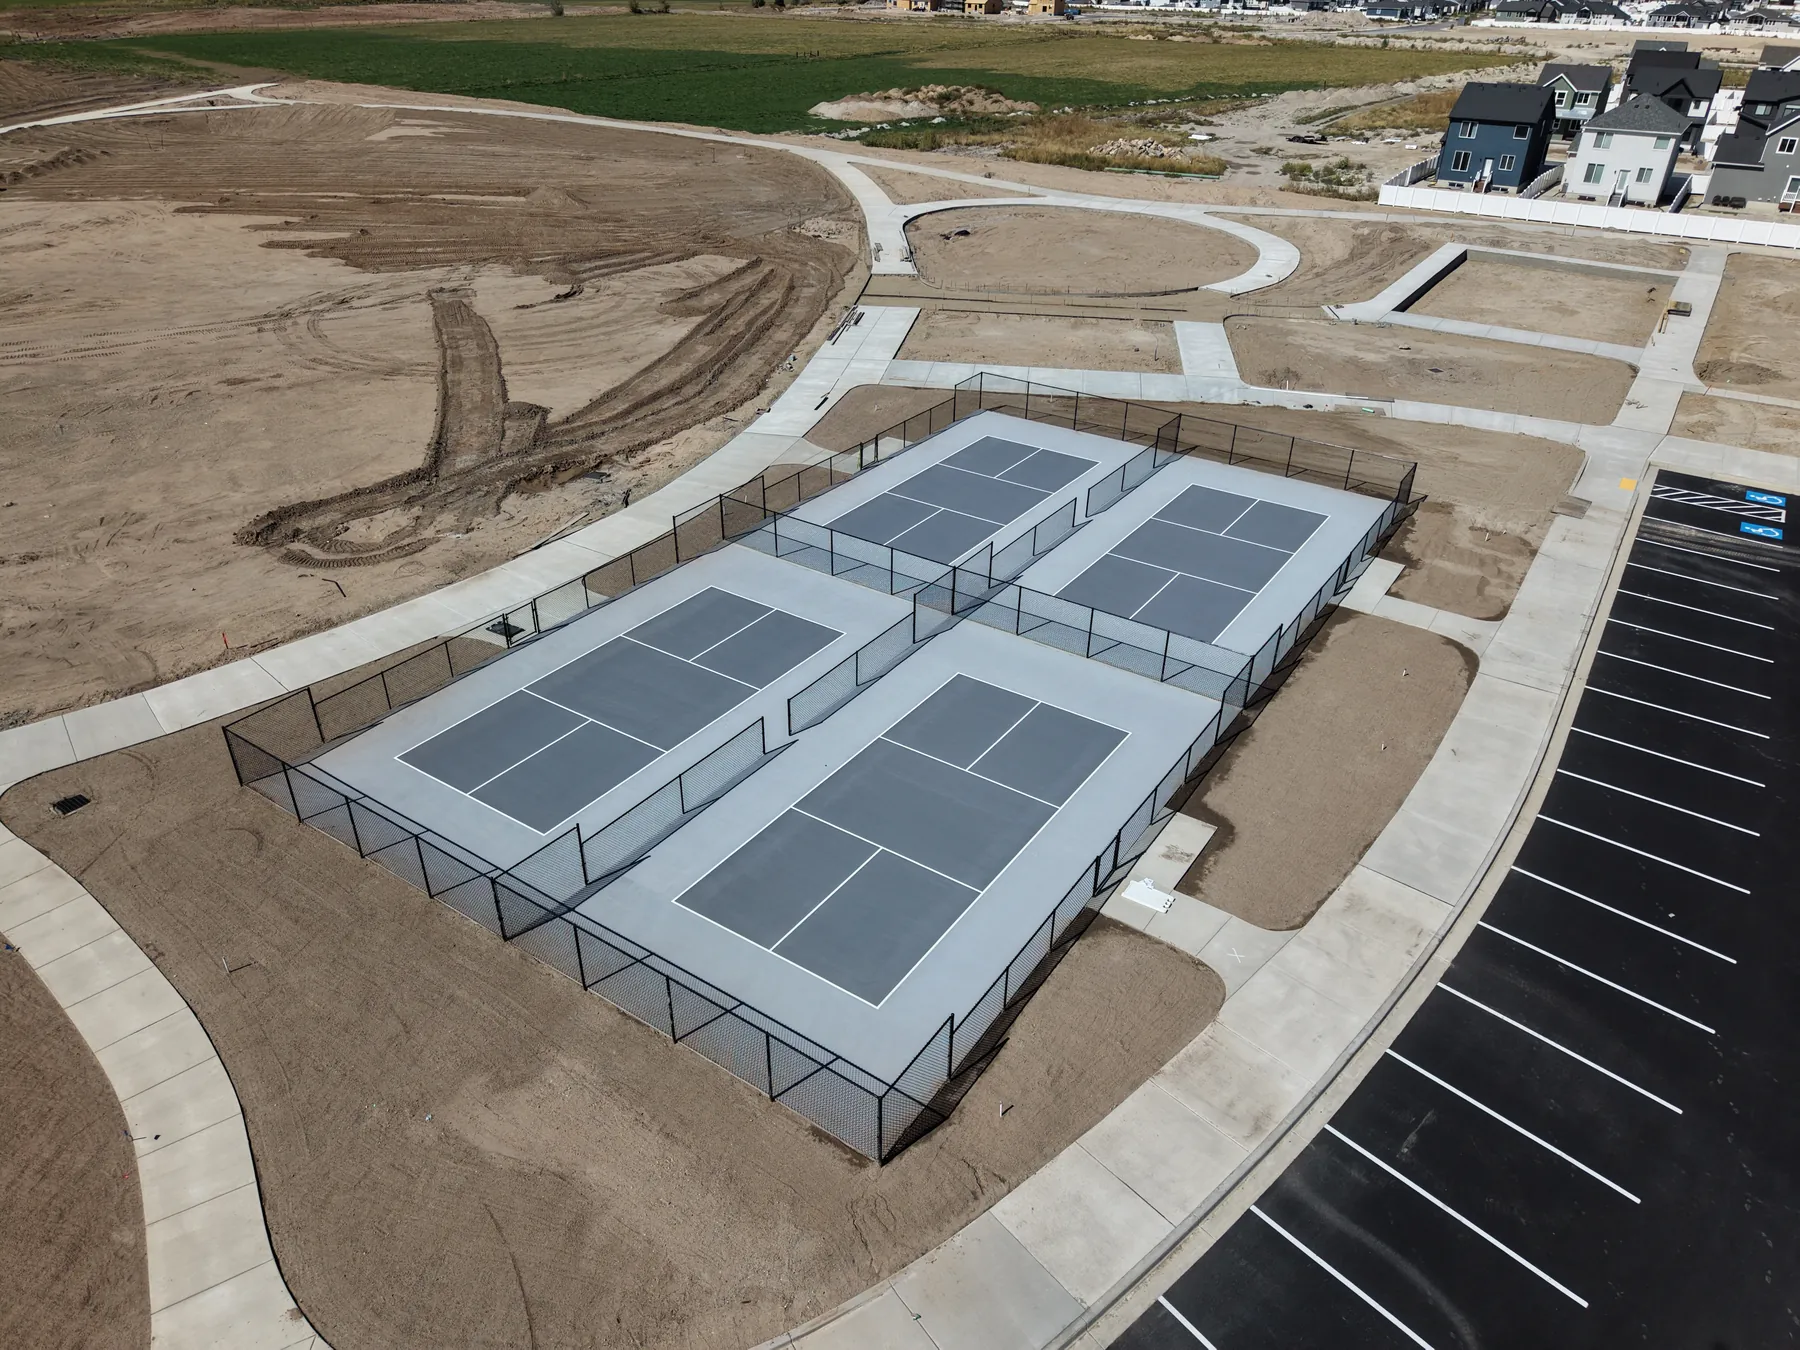 Enlarge photo 1
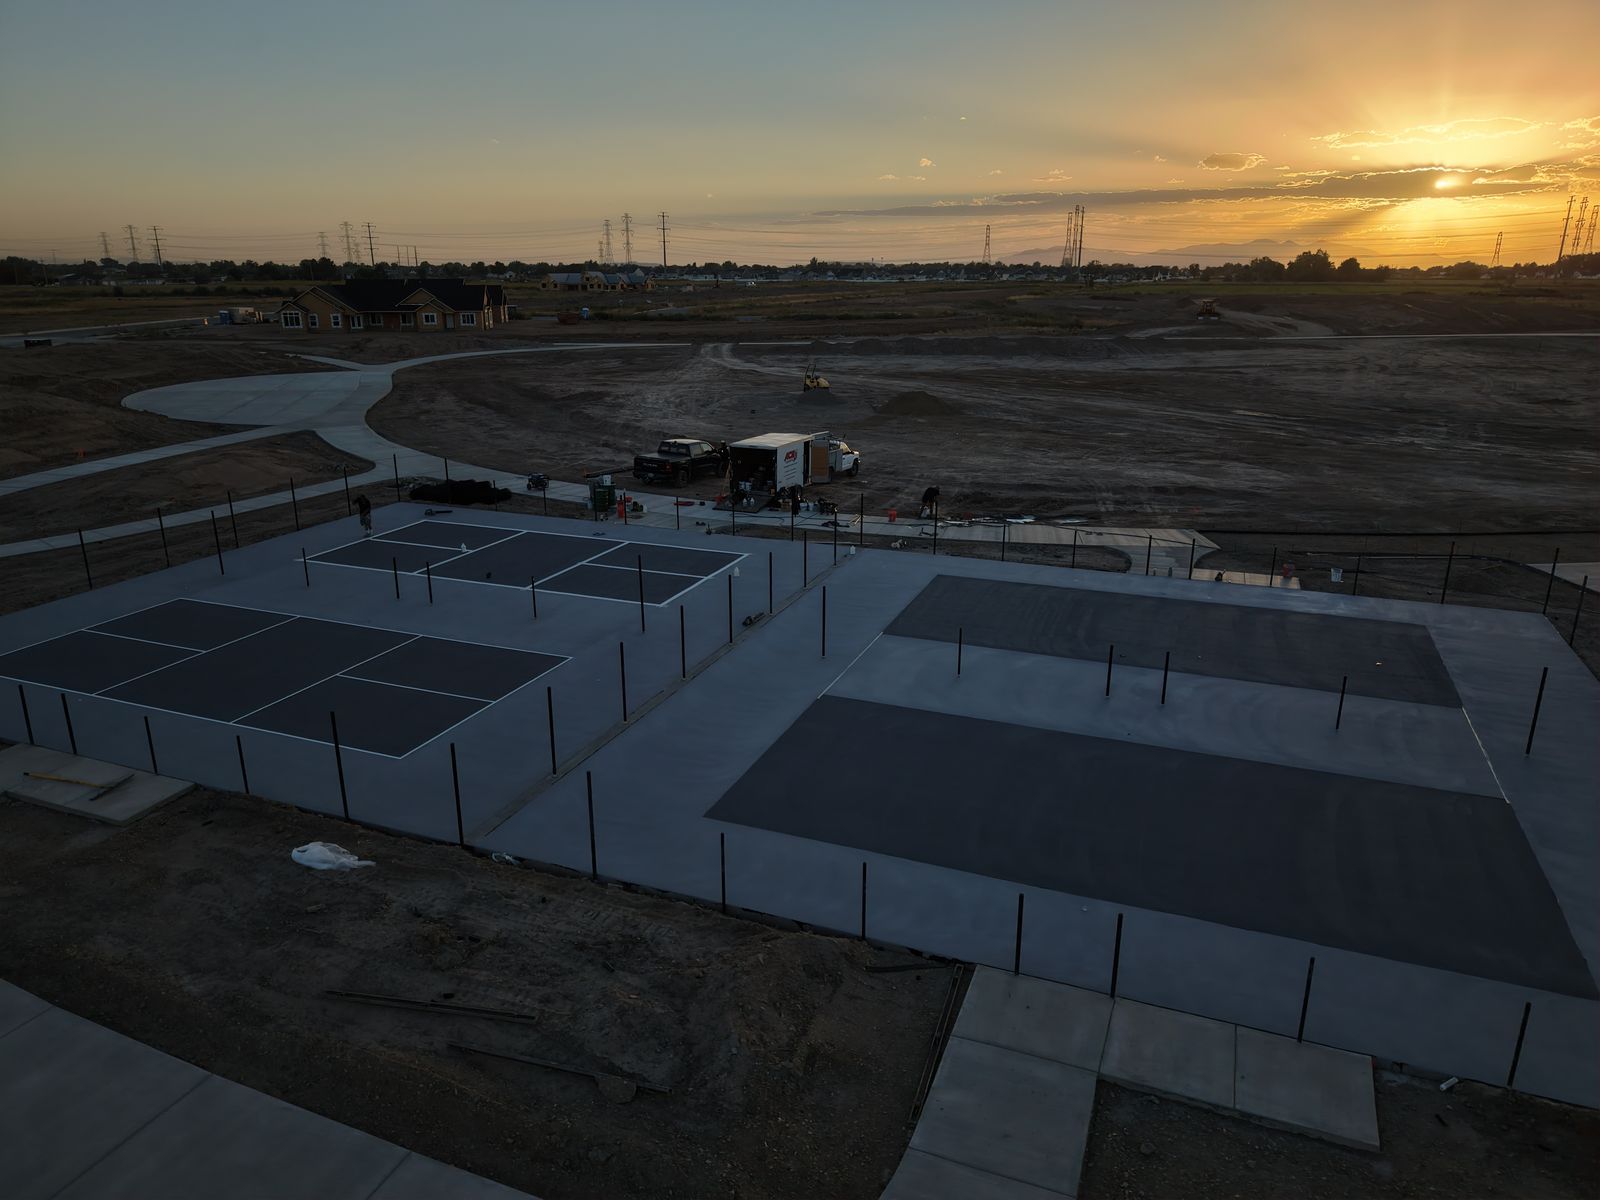 Enlarge photo 2
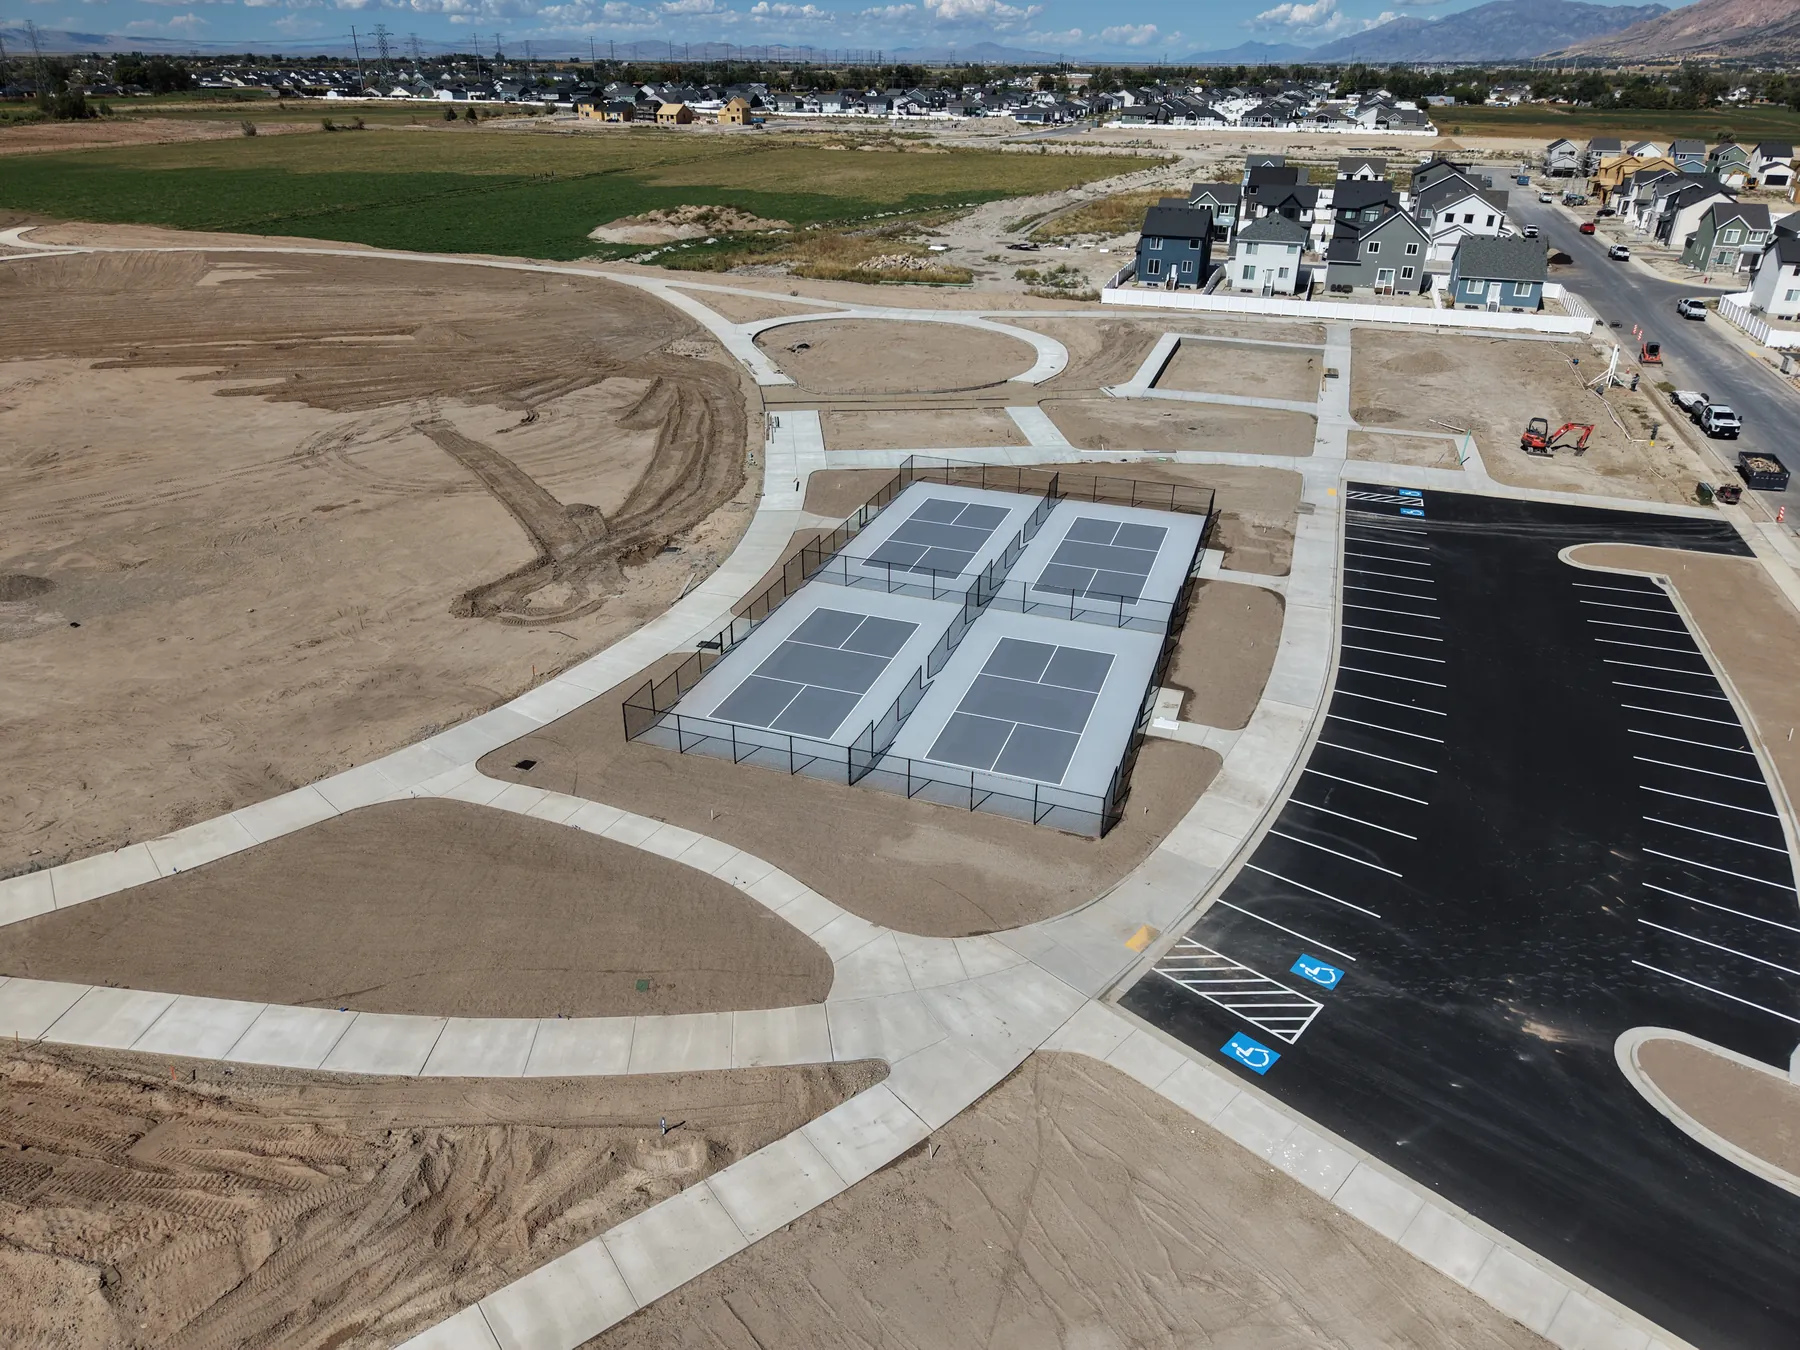 Enlarge photo 3
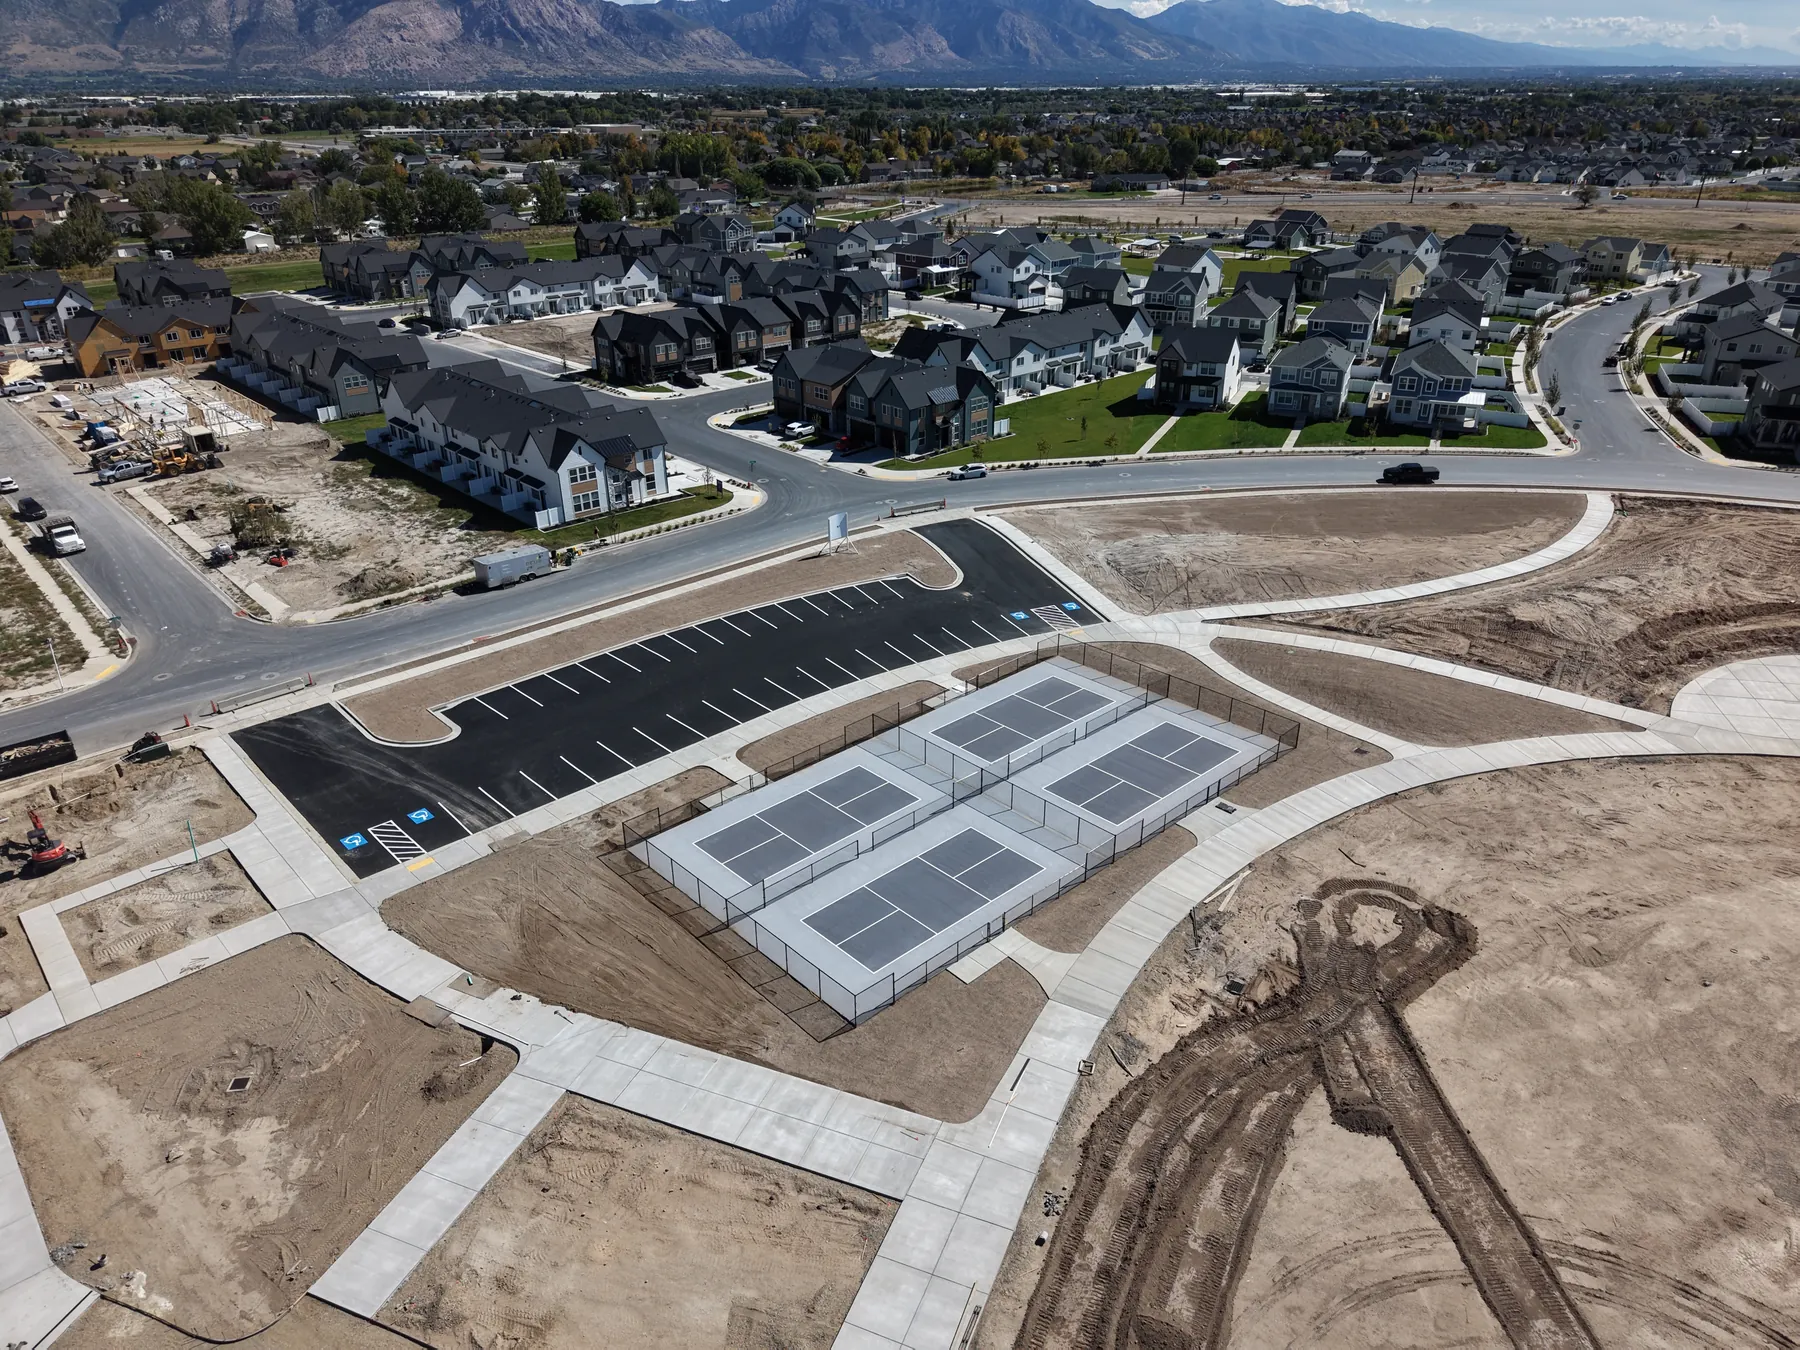 Enlarge photo 4
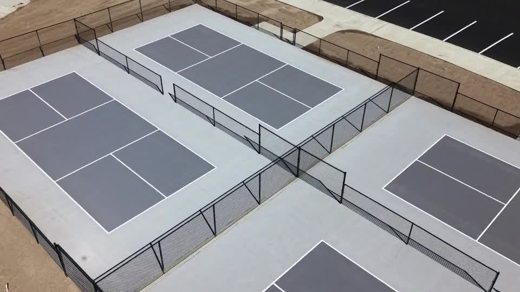 Play 8s video
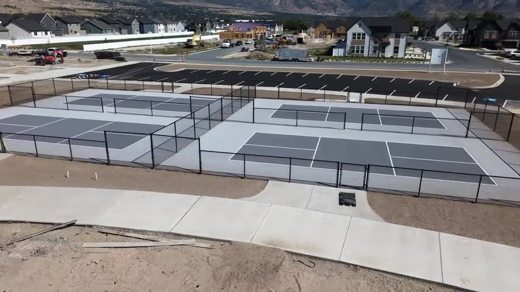 Play 6s video
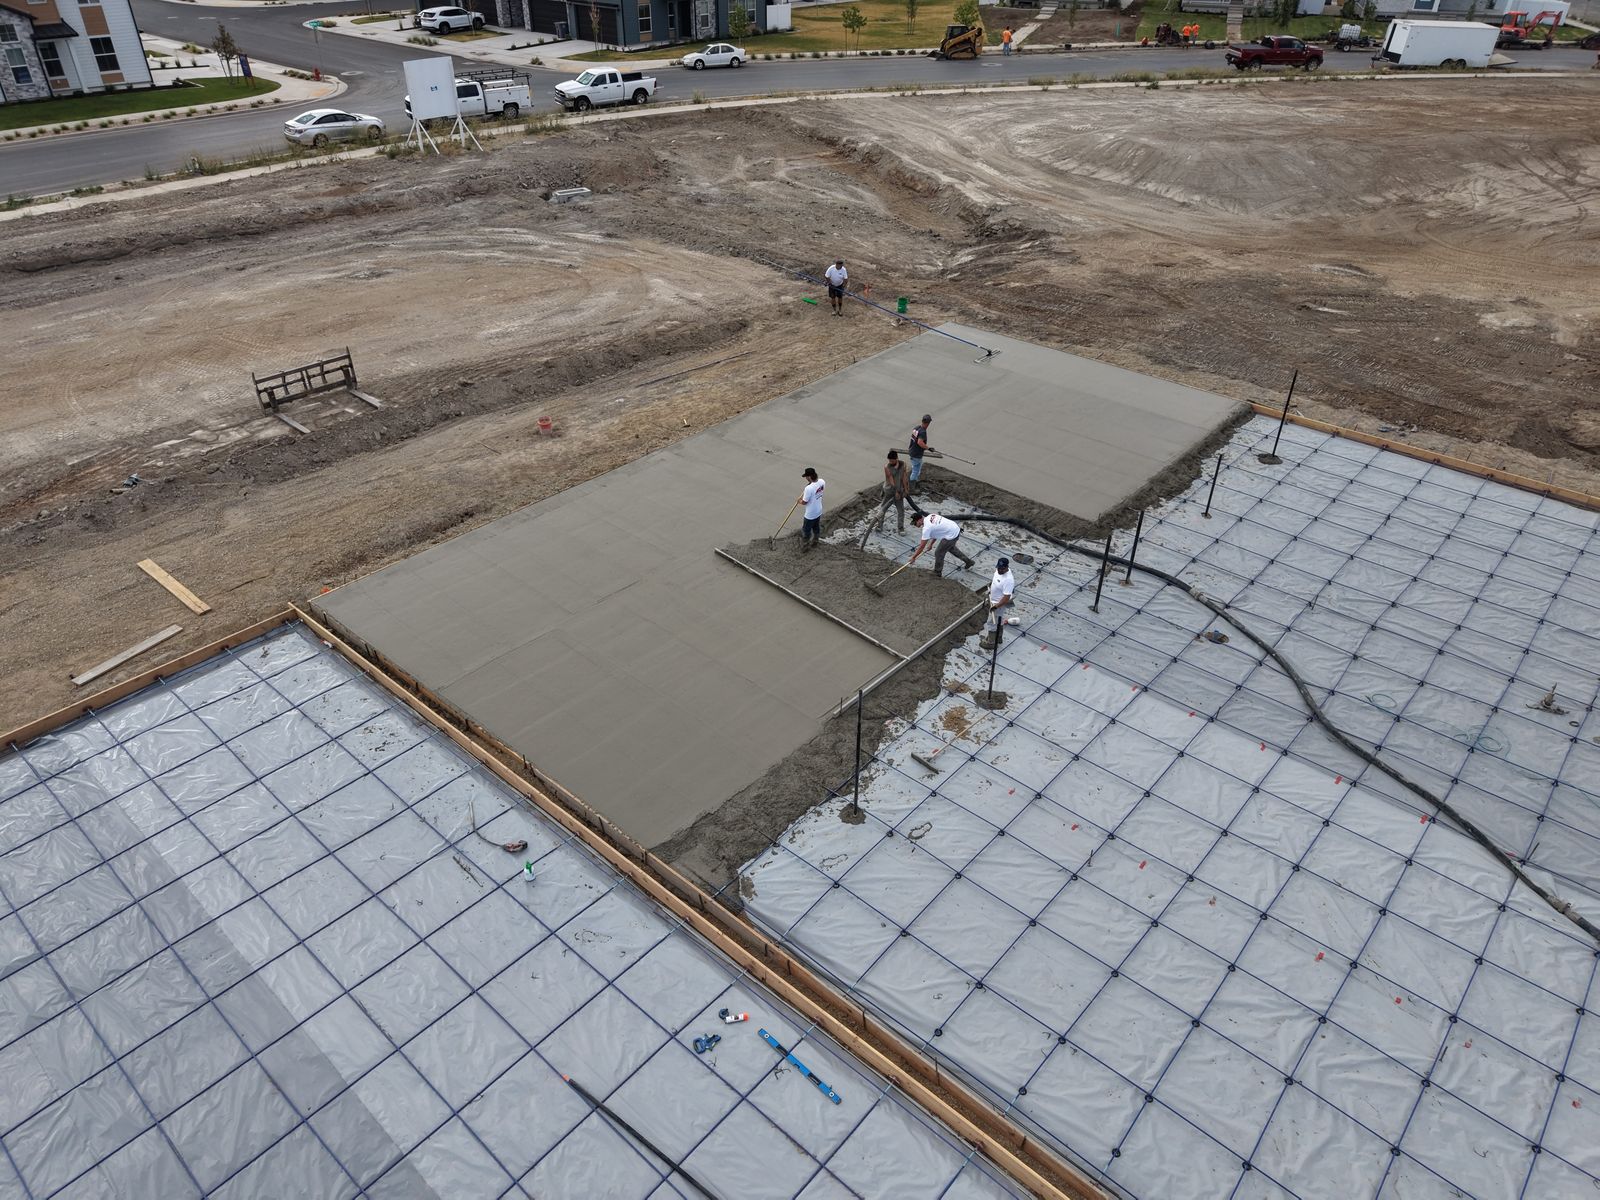 Enlarge photo 7
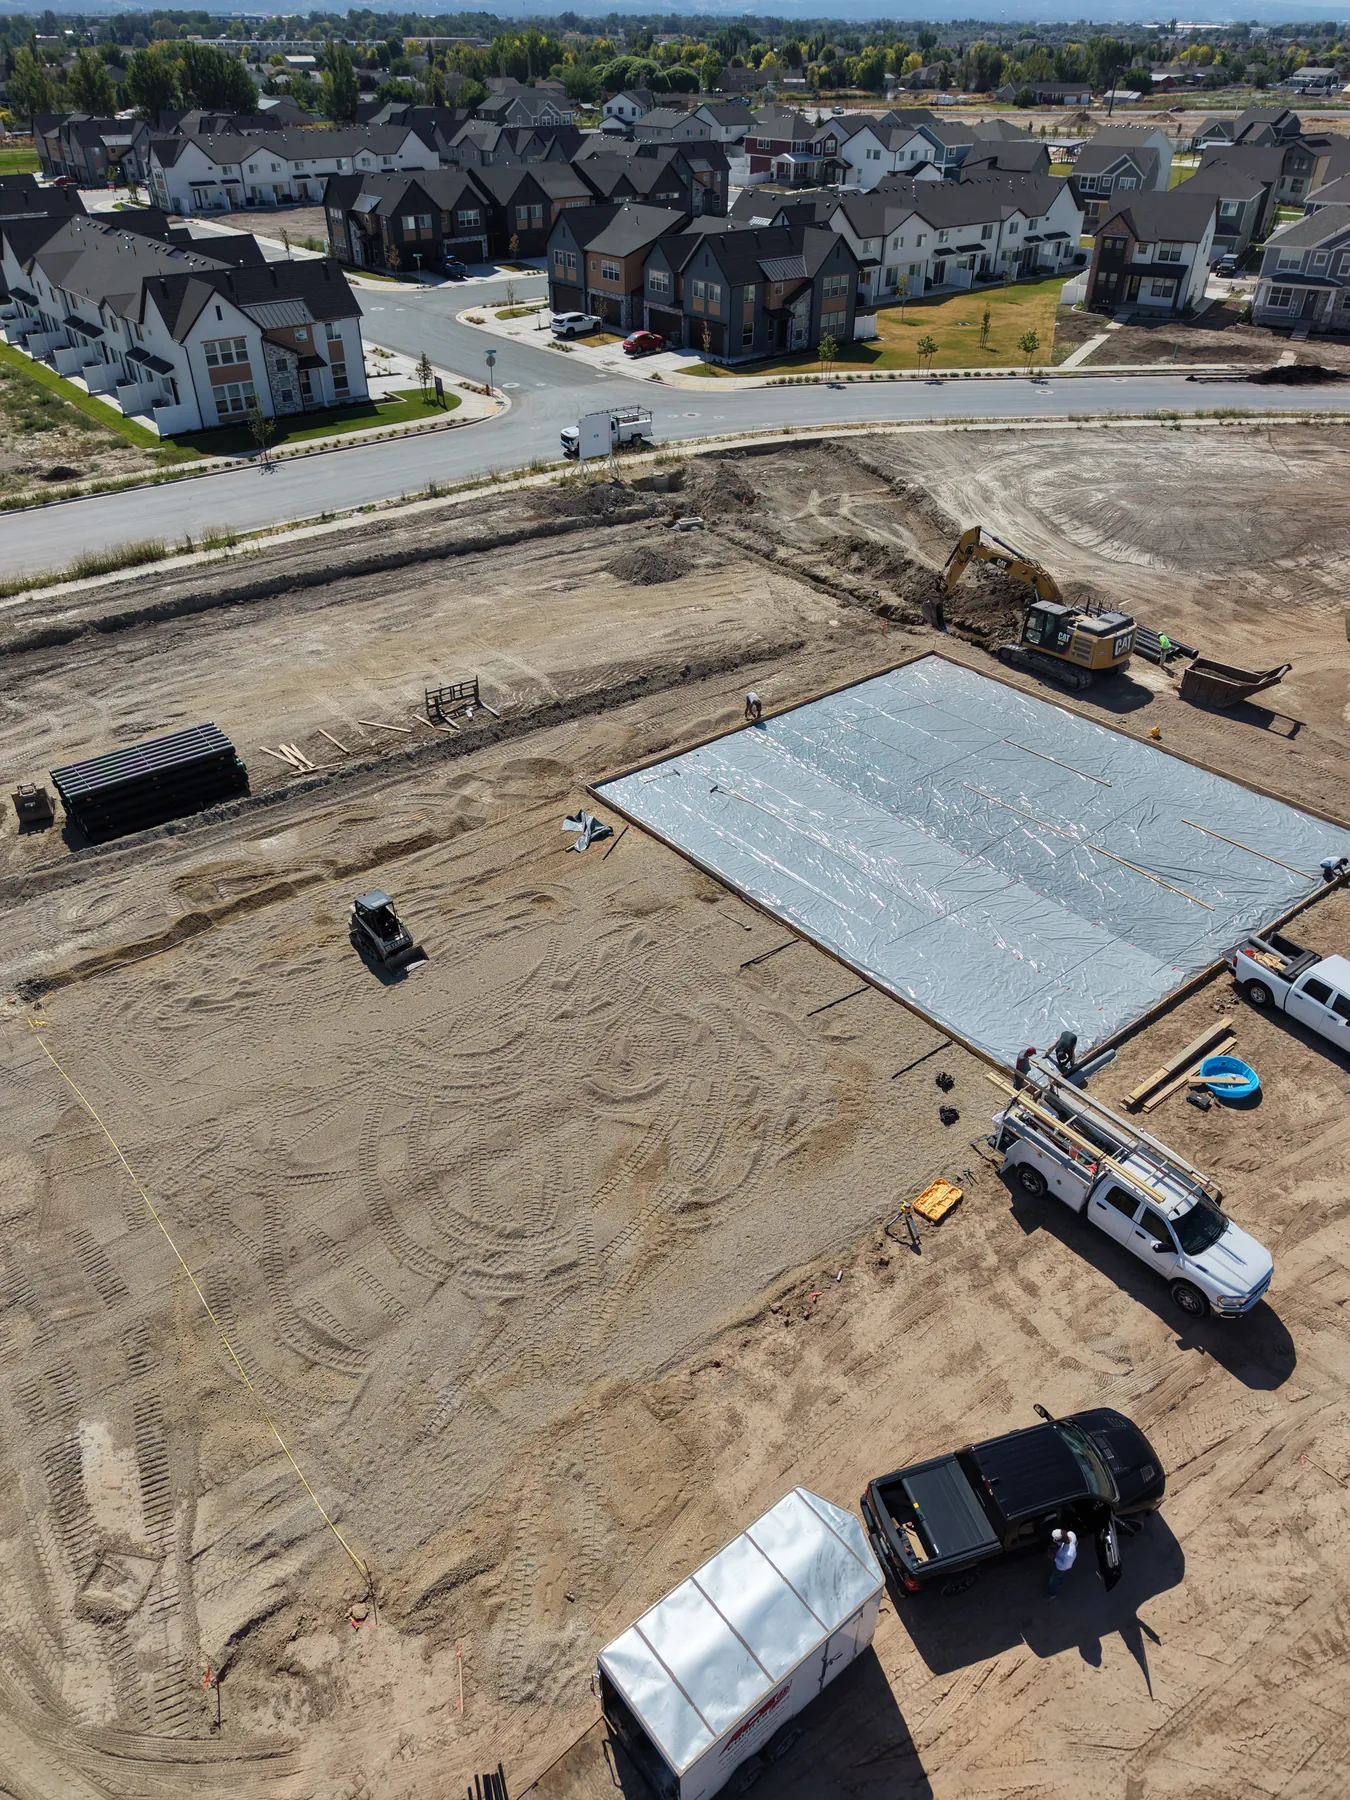 Enlarge photo 8
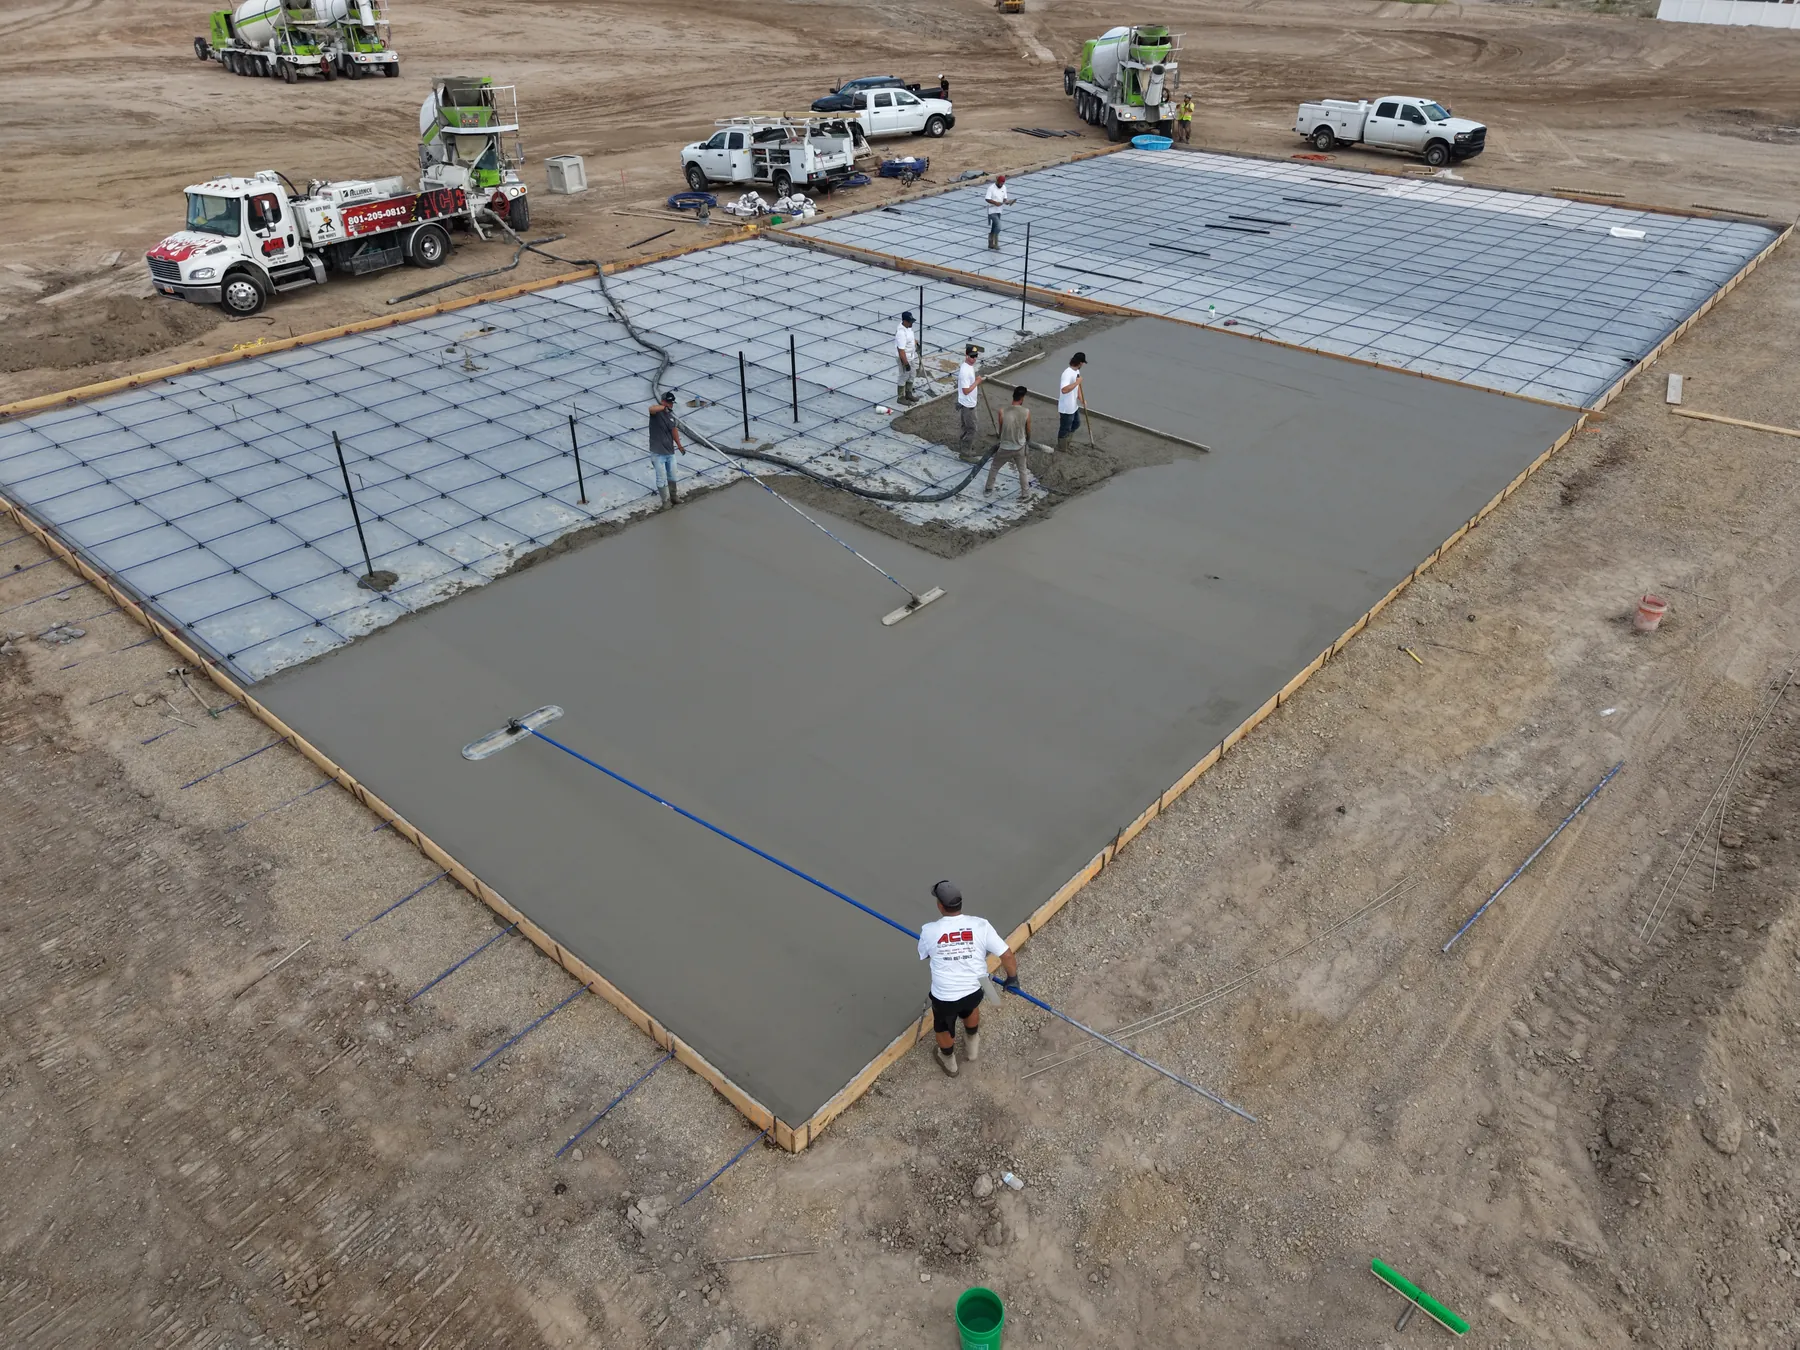 Enlarge photo 9
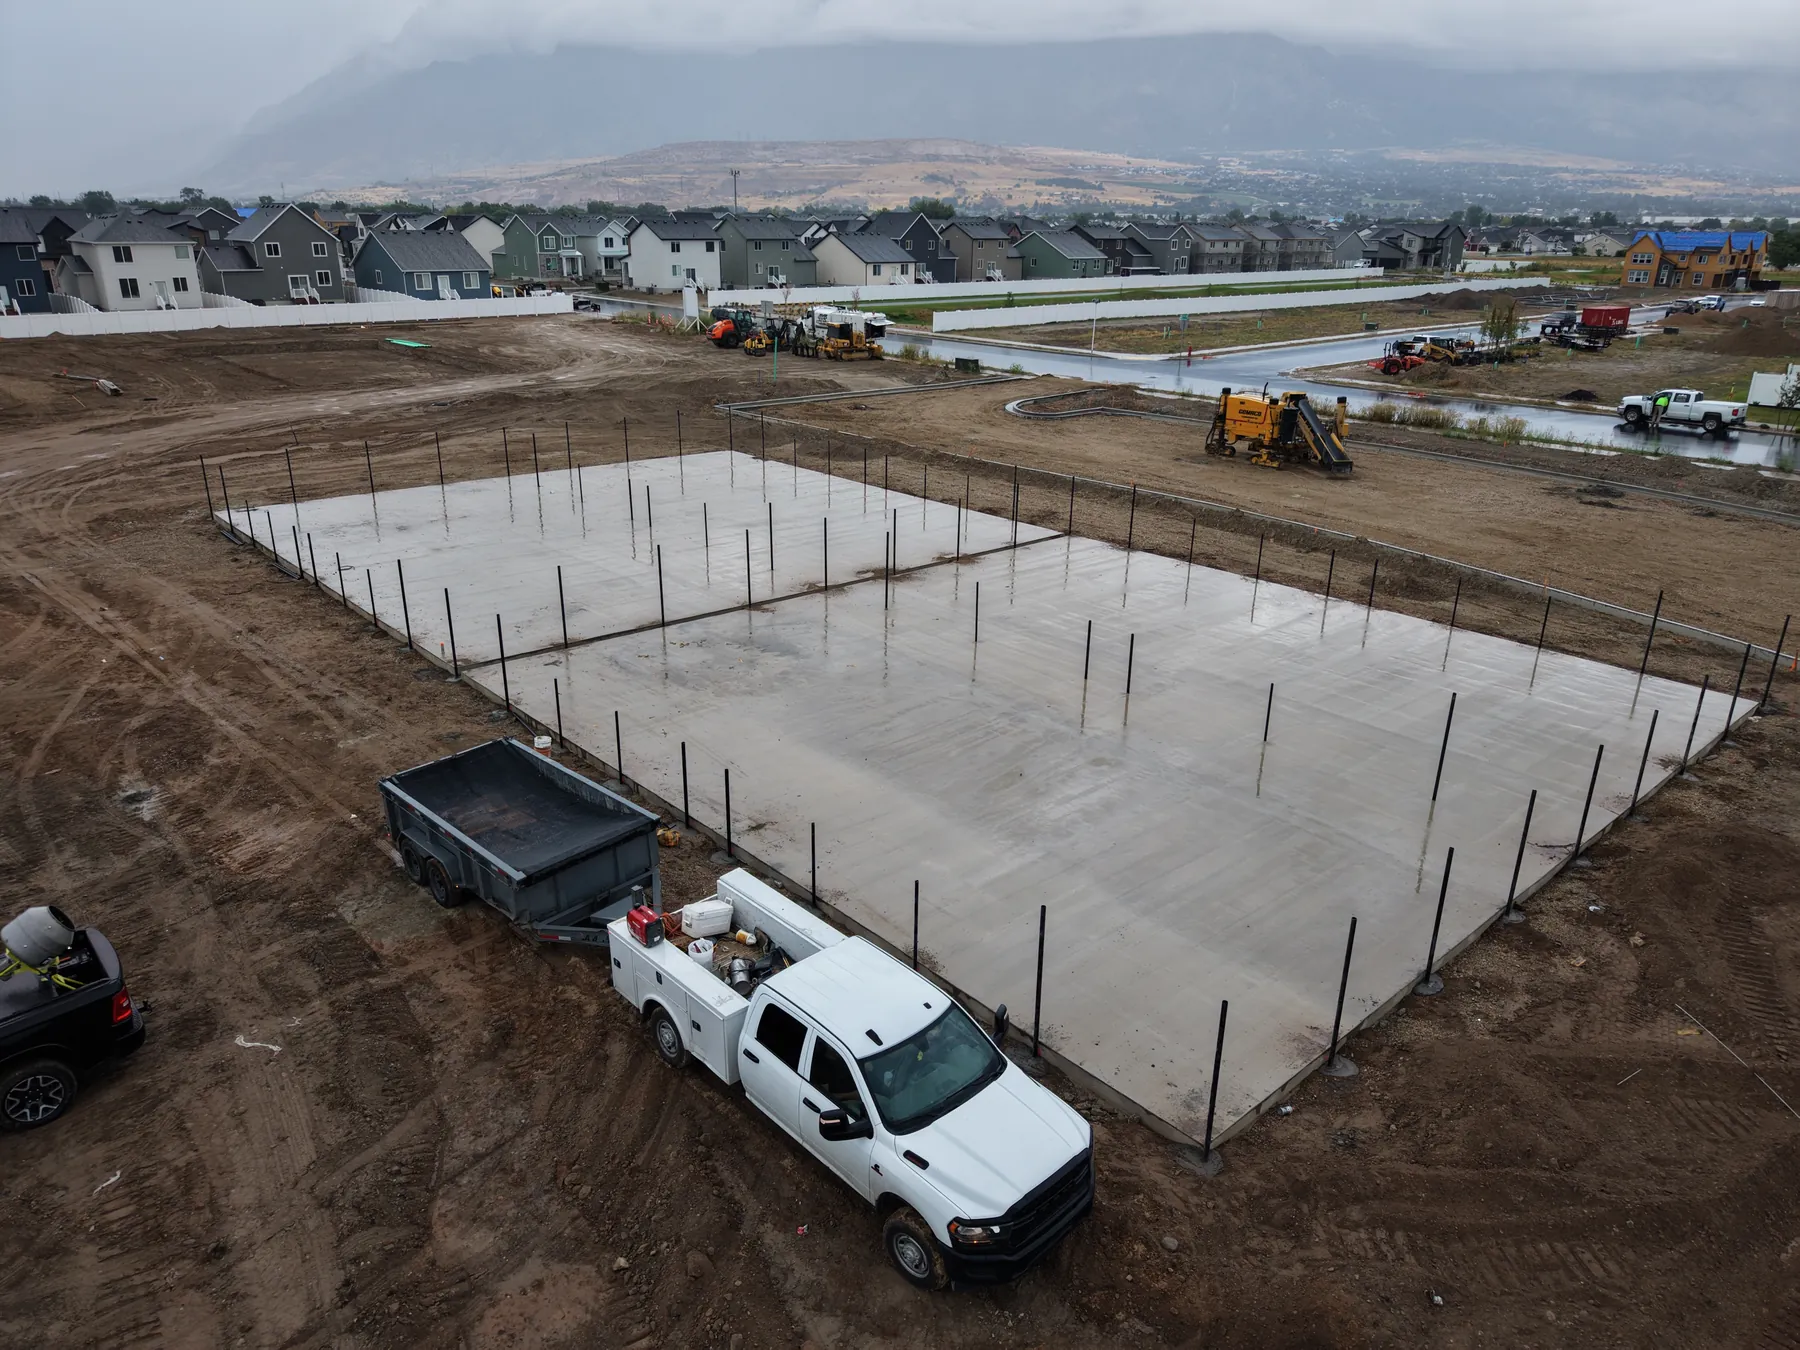 Enlarge photo 10
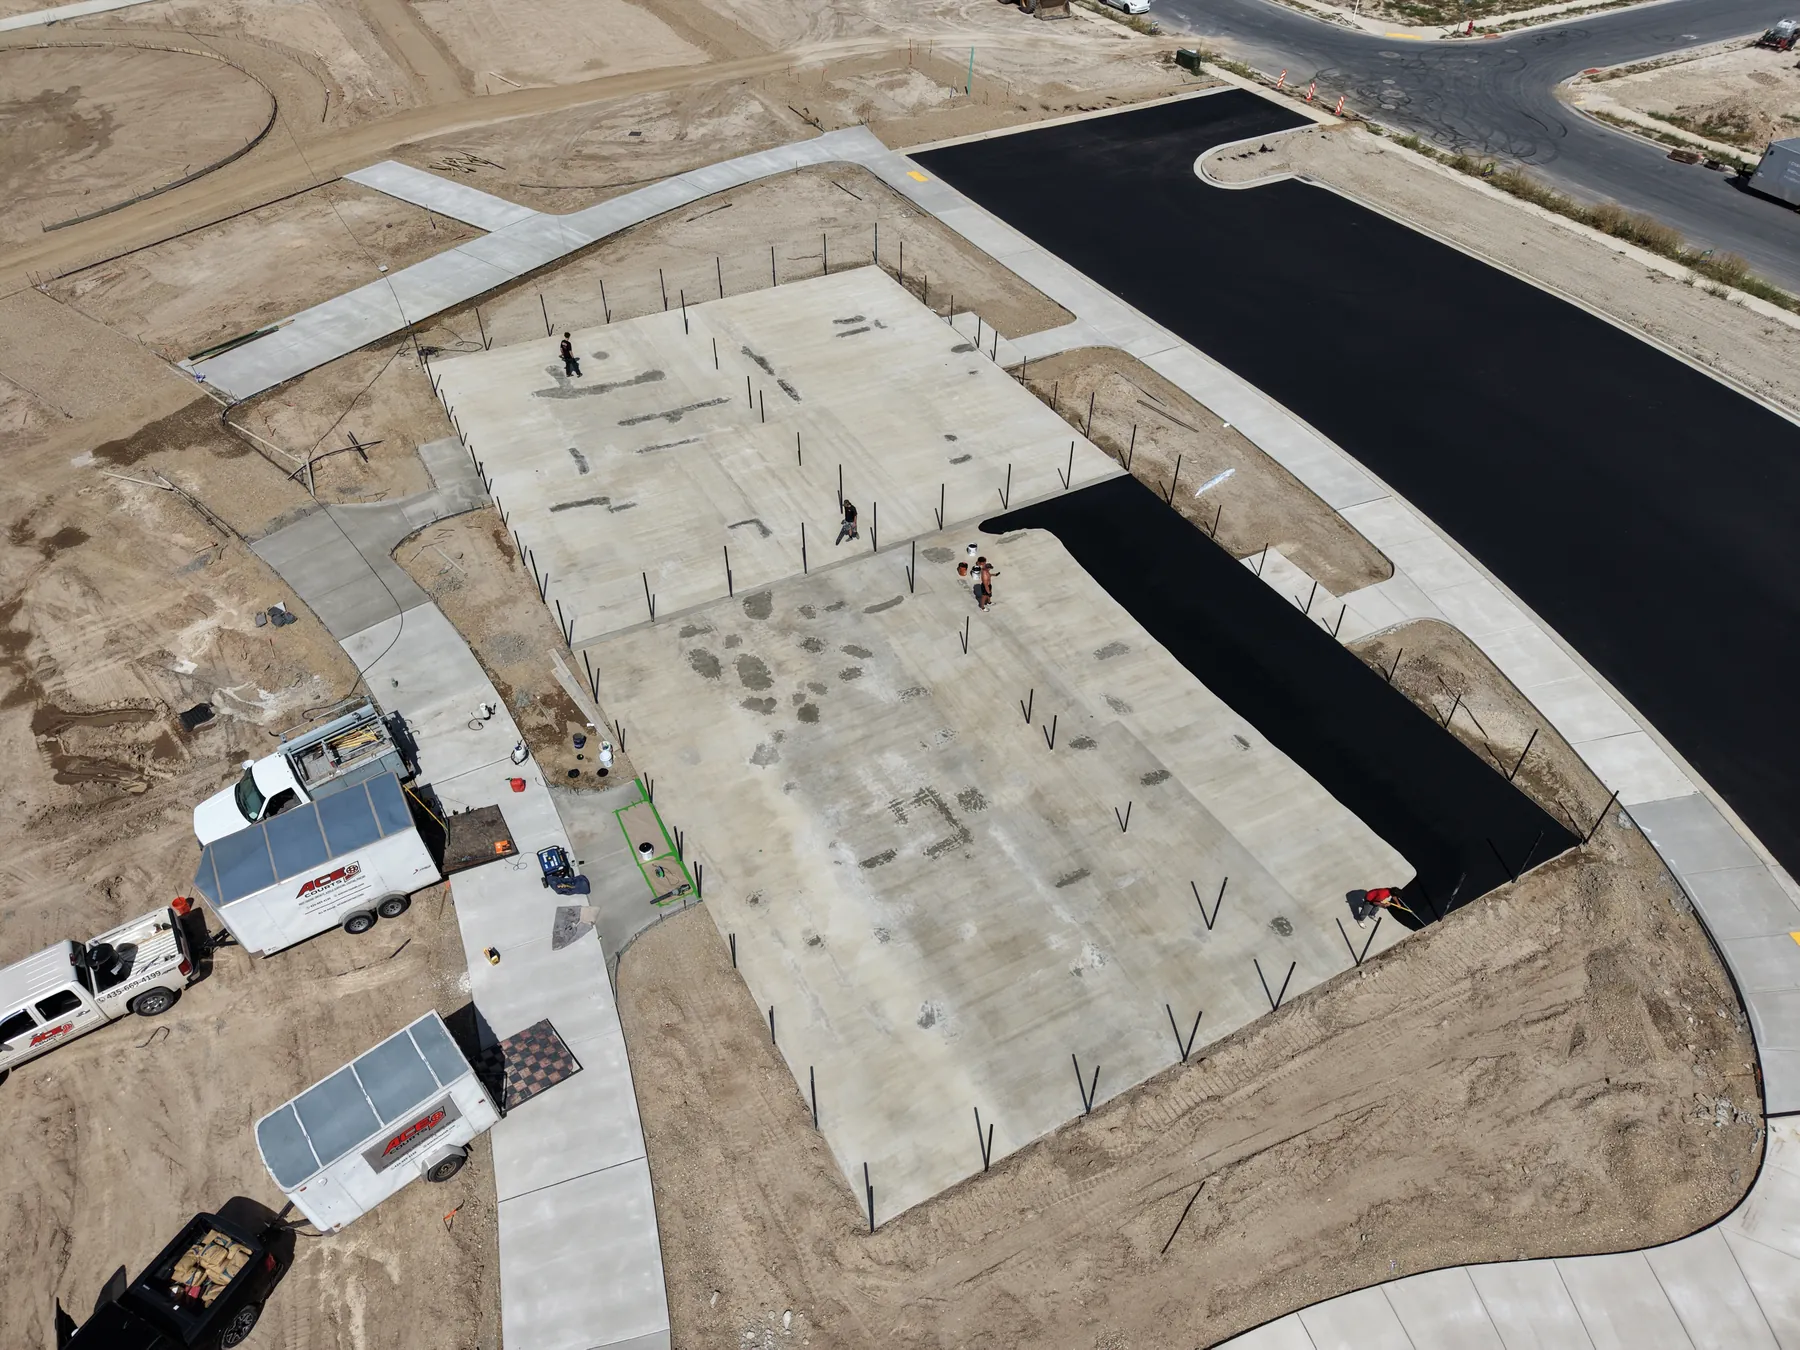 Enlarge photo 11
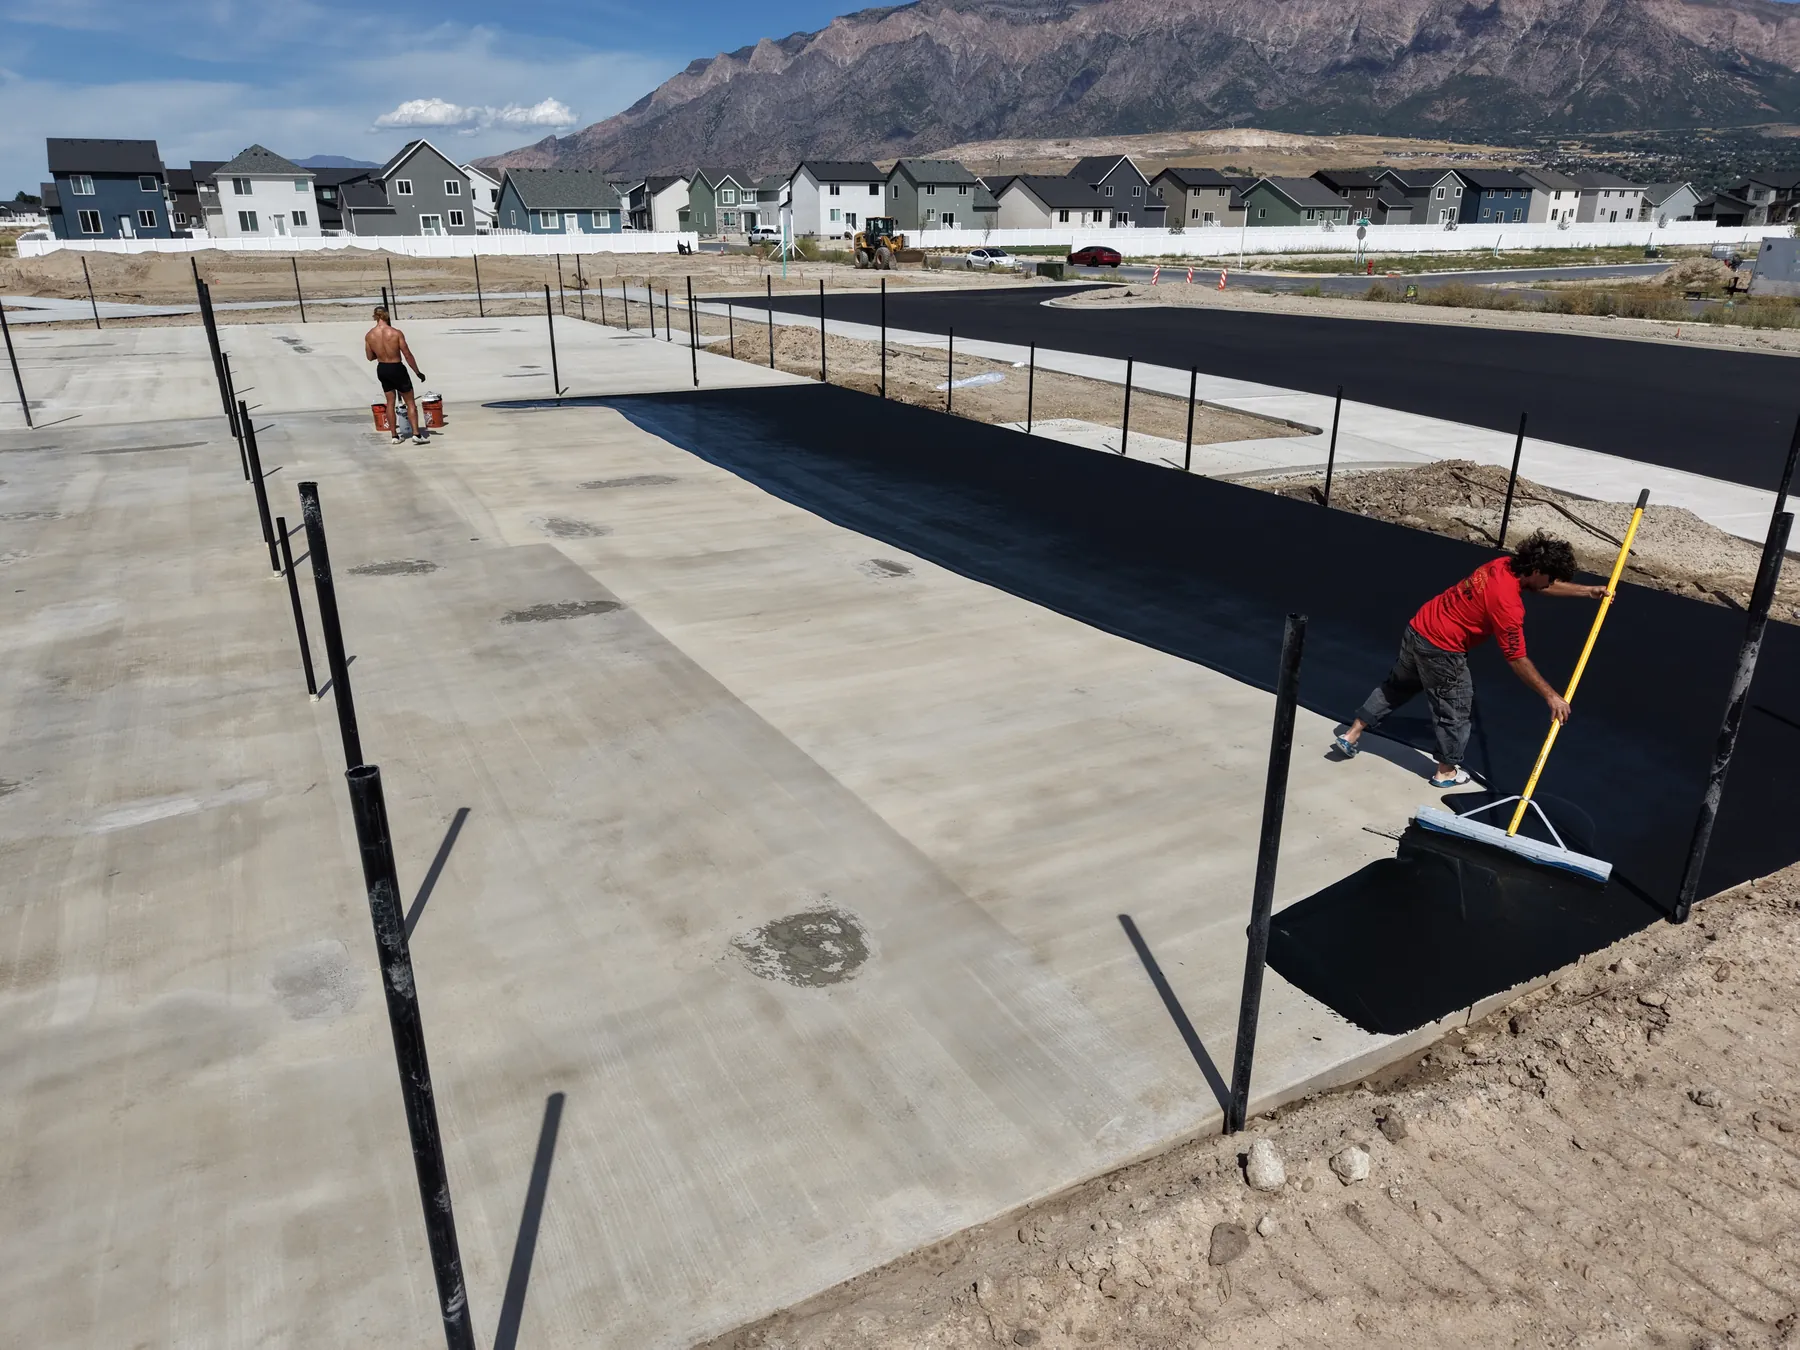 Enlarge photo 12
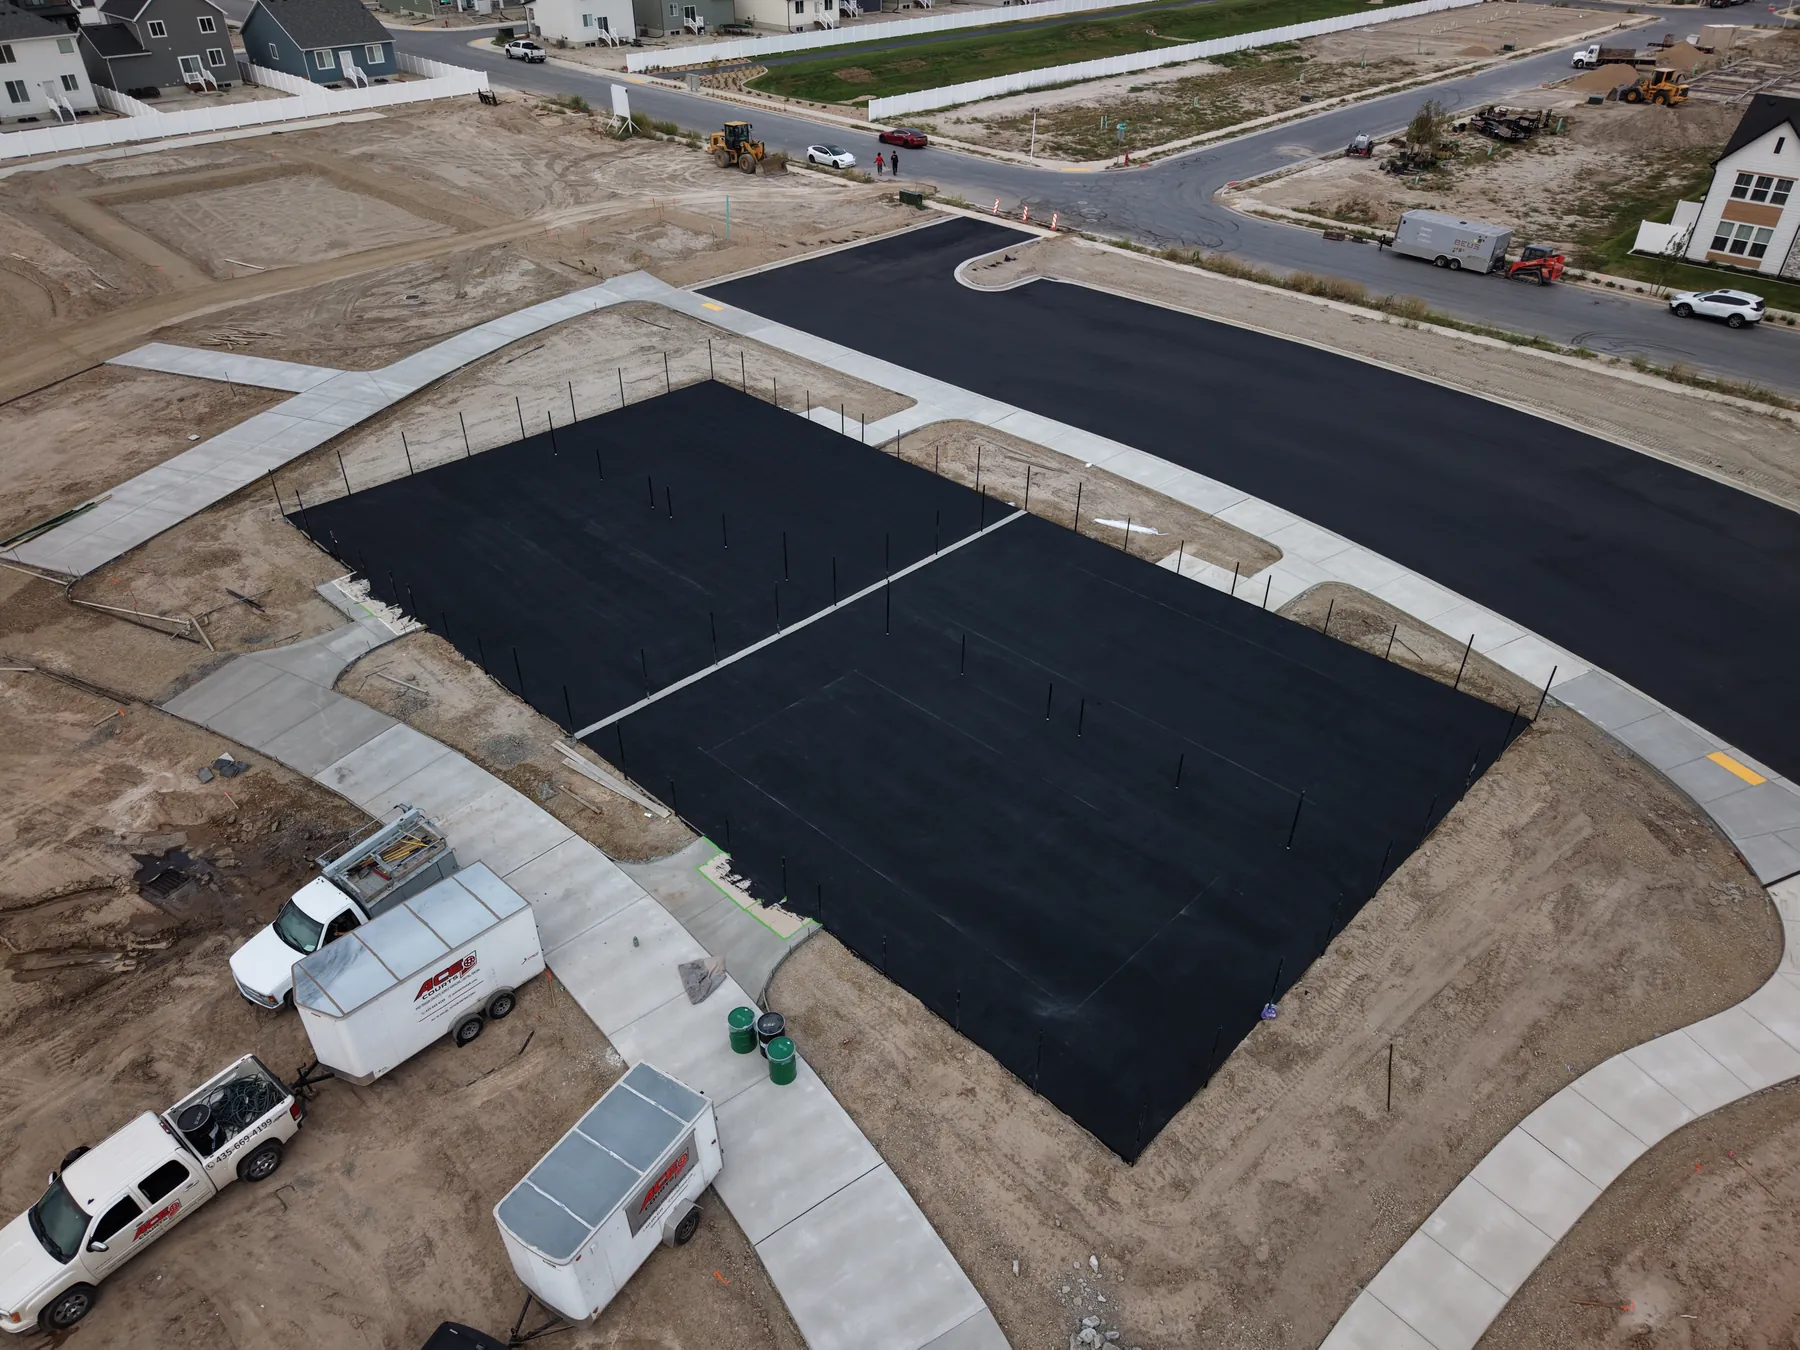 Enlarge photo 13
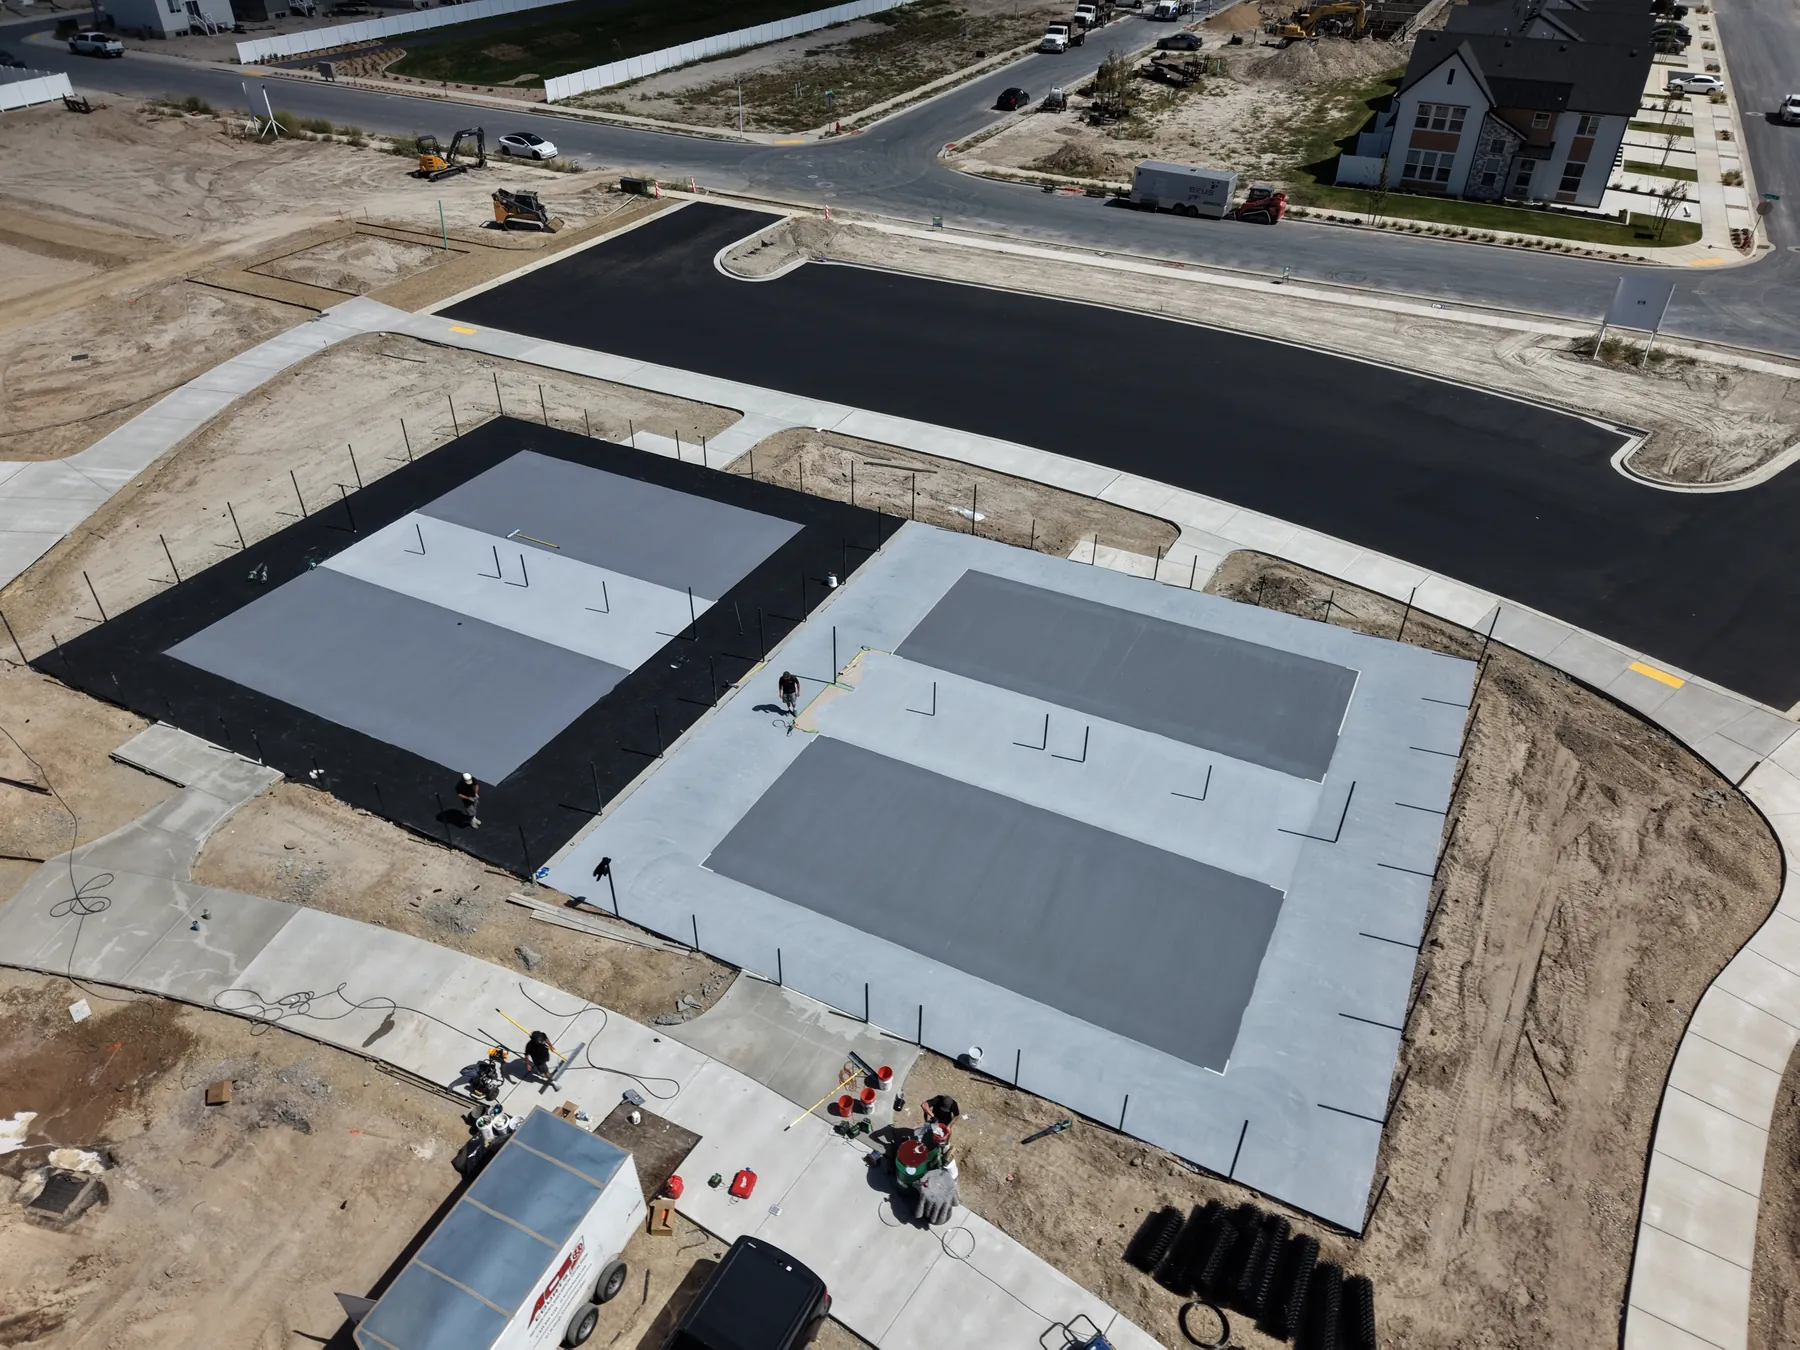 Enlarge photo 14
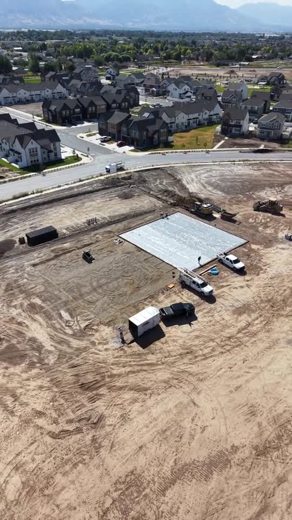 Play 6s video
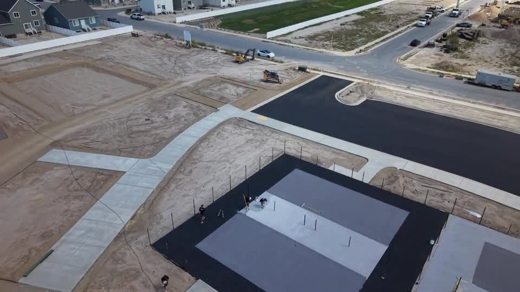 Play 8s video